How To Make Foam for Coffee: Lattes, Sweet Foam, and More


Key Takeaways
Are you tired of spending a fortune on fancy coffee shop drinks? Do you dream of creating that perfect, velvety foam at home for your lattes, cappuccinos, and other coffee creations? Look no further! In this comprehensive guide, we'll walk you through everything you need to know about making delicious coffee foam in the comfort of your own kitchen.
The Magic of Coffee Foam
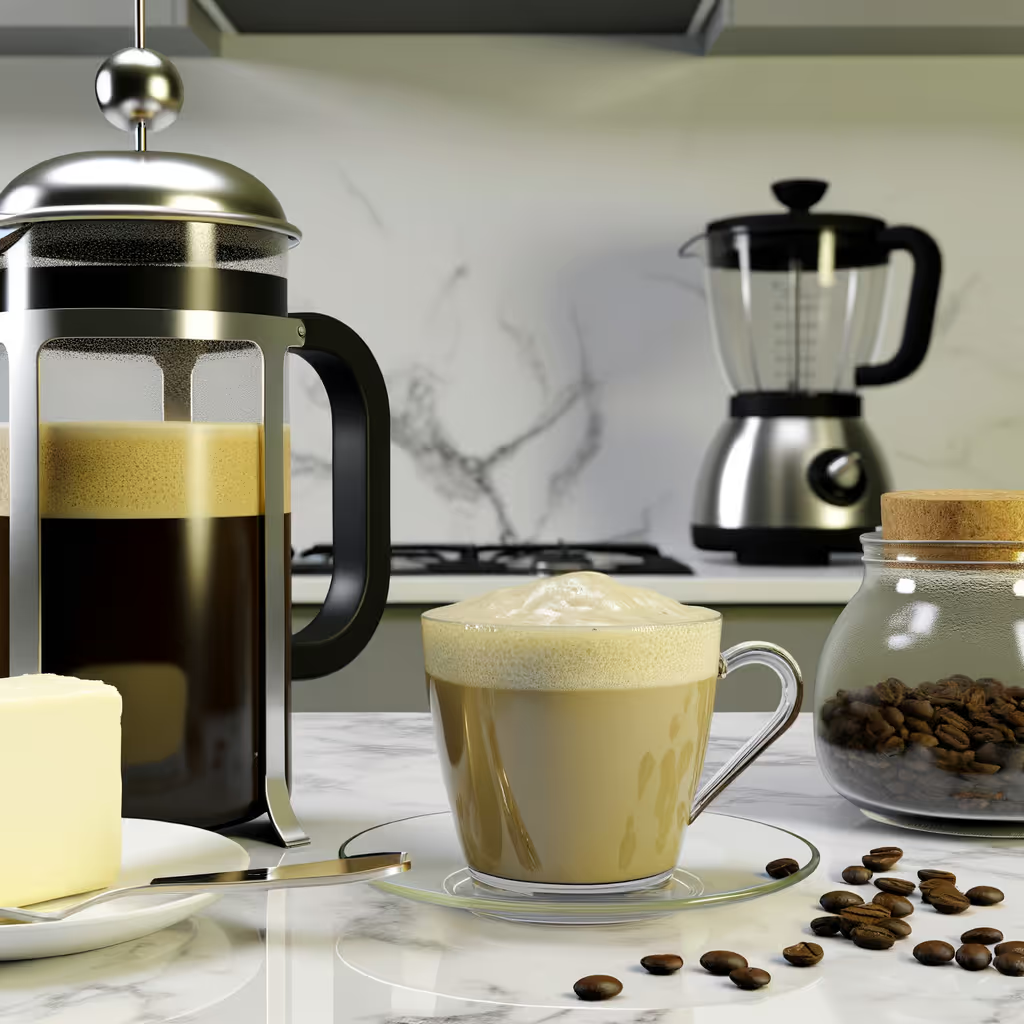
There's something truly special about that first sip of a perfectly crafted latte, with its silky smooth foam gently caressing your lips. But what exactly is coffee foam, and why does it make such a difference in our favorite drinks?
Coffee foam, also known as microfoam, is created by introducing tiny air bubbles into milk or milk alternatives. This process not only adds a luxurious texture to your coffee but also enhances its flavor and presentation. Whether you're a seasoned barista or a home brewing enthusiast, mastering the art of foam-making can elevate your coffee game to new heights.
Essential Tools for Making Coffee Foam
Before we dive into the techniques, let's make sure you have the right equipment:
- Milk frother: This can be an electric handheld frother, a steam wand on an espresso machine, or a manual pump frother.
- Milk pitcher: A stainless steel pitcher is ideal for heating and frothing milk.
- Thermometer: To ensure your milk reaches the perfect temperature.
- Fresh, cold milk: Whole milk works best, but we'll cover alternatives too!
The Basic Technique: How to Froth Milk for Lattes
Let's start with the classic latte foam. Follow these steps to create that perfect microfoam:
- Pour cold milk into your pitcher, filling it about 1/3 full.
- If using a steam wand, purge it first to remove any condensation.
- Submerge the wand or frother just below the milk's surface.
- Turn on the frother or steam wand and slowly lower the pitcher as the milk expands.
- Listen for a gentle hissing sound - this means you're introducing air correctly.
- Once the milk has expanded by about 50%, submerge the wand or frother deeper to create a whirlpool effect.
- Heat the milk to 150-155°F (65-68°C) for optimal sweetness and texture.
- Tap the pitcher on the counter to break any large bubbles.
- Swirl the milk gently to create a glossy, paint-like consistency.
Pro tip: Practice makes perfect! Don't get discouraged if your first attempts aren't Instagram-worthy. With time, you'll develop a feel for the right technique.
Creating Sweet Foam for Specialty Drinks
Want to take your foam game to the next level? Sweet foam is a delightful addition to many specialty coffee drinks. Here's how to make it:
- Start with cold milk in your pitcher.
- Add 1-2 tablespoons of flavored syrup (vanilla, caramel, or your preferred flavor).
- Froth the milk using the technique described above.
- Heat to 150-155°F (65-68°C) while frothing.
- Let the foam rest for 30 seconds before using.
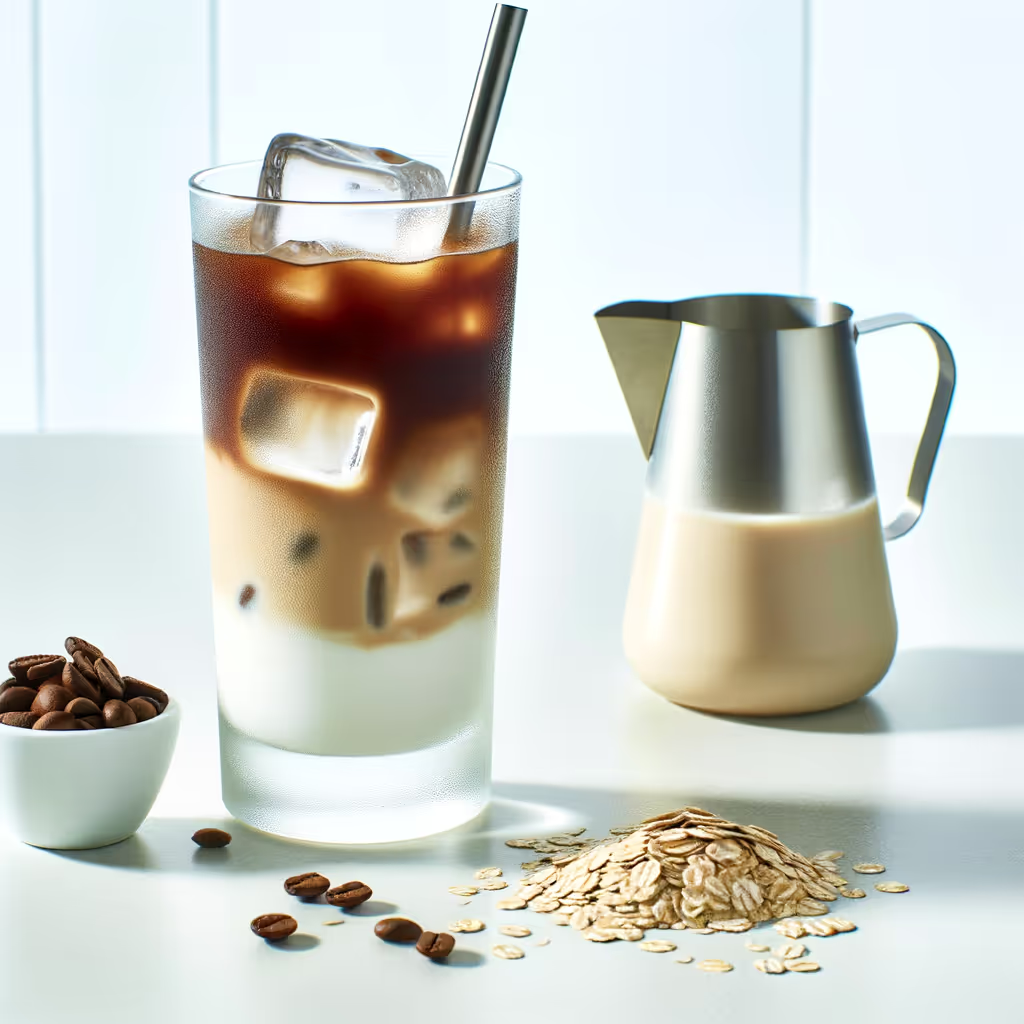
This sweet foam is perfect for topping off iced coffees, cold brews, or creating indulgent hot drinks like vanilla lattes or caramel macchiatos.
Alternative Milks: Creating Foam with Non-Dairy Options
For those who prefer plant-based alternatives, fear not! You can still create delicious foam with non-dairy milks. Here are some tips:
- Oat milk: Often produces the best foam among non-dairy options.
- Soy milk: Creates a stable foam but may have a slightly different taste.
- Almond milk: Can be tricky to foam, look for "barista" versions for better results.
- Coconut milk: Produces a light, airy foam with a distinct flavor.
When using alternative milks, remember:
- Choose unsweetened versions for better control over your drink's sweetness.
- Look for "barista" blends designed specifically for coffee drinks.
- Experiment with different brands to find your favorite.
Advanced Techniques: Latte Art and Beyond
Once you've mastered basic foam-making, why not try your hand at latte art? Here are some tips to get you started:
- Achieve the right consistency: Your milk should look like wet paint.
- Pour from a height: Start high and gradually lower your pitcher.
- Control your flow: Use a steady, consistent pour.
- Practice basic designs: Start with a heart or simple leaf pattern.
Remember, latte art is as much about the quality of your espresso shot as it is about the foam. Make sure you're working with a well-pulled shot for the best results.
Troubleshooting Common Foam Issues
Even experienced baristas encounter foam problems from time to time. Here are some common issues and how to fix them:
- Foam is too bubbly: You're introducing too much air. Try submerging your frother or wand deeper.
- Foam is too thin: Not enough air is being incorporated. Keep the frother closer to the surface for longer.
- Milk won't foam at all: Check that your milk is fresh and cold. Also, ensure your equipment is clean and functioning properly.
- Foam dissipates quickly: This often happens with overheated milk. Keep an eye on your temperature!
The Science Behind Perfect Coffee Foam
Understanding the science can help you perfect your technique. Here's a quick breakdown:
- Protein is key: The proteins in milk are what allow it to trap air and create foam.
- Fat content matters: Whole milk (3-4% fat) generally produces the best foam.
- Temperature affects sweetness: Milk sugars break down around 160°F (71°C), making the milk taste sweeter.
- Freshness counts: Fresh milk foams better due to its protein structure.
Conclusion: Elevate Your Home Coffee Experience
Making perfect coffee foam at home is a skill that can transform your daily coffee routine into a cafe-quality experience. With practice and patience, you'll be crafting lattes, cappuccinos, and specialty drinks that rival your favorite coffee shop.
Remember, the key to great foam is fresh ingredients, the right equipment, and a willingness to experiment. Don't be afraid to try new techniques, flavors, and milk alternatives to find your perfect cup.
So, what are you waiting for? Grab your frother, heat up some milk, and start creating delicious, foamy masterpieces in your own kitchen!
Key Takeaways
- Fresh, cold milk and the right equipment are essential for creating perfect coffee foam.
- The basic technique involves introducing air gradually and creating a whirlpool effect.
- Sweet foam can be made by adding flavored syrups before frothing.
- Non-dairy alternatives can also create great foam, with oat milk often producing the best results.
- Understanding the science behind foam can help you troubleshoot common issues and perfect your technique.
Happy frothing!